Behind the Scenes: Direct Vent Fireplace Insert Installation
Have you ever wondered what goes into installing a direct vent insert? We were able to follow a Blue Ridge Energy Propane and Fuels team to a home installation, where we were shown the process step-by-step.
Part One: Installing Vents on the Roof
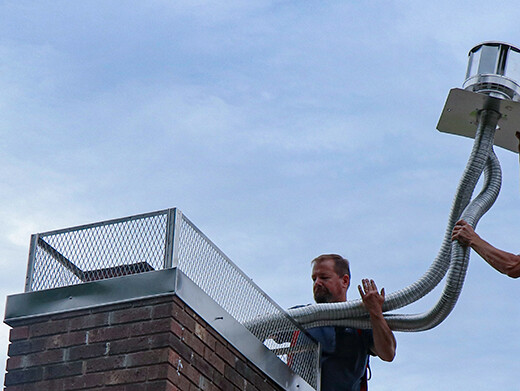
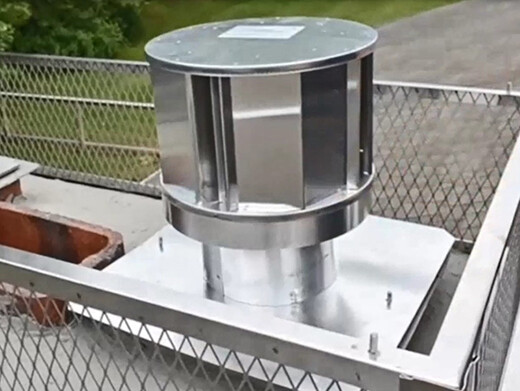
We started out on the roof of the house. Two long vents were first dropped down through the chimney; one for bringing fresh air in, and one for removing exhaust from combustion.
Next, the vents were connected to a cap which will go on top of the chimney. In addition to controlling the amount of air going in and out, this cap also keeps the vents protected from rain, snow, leaves, and other debris.
Once this was completed, we headed downstairs.
Part Two: Connecting the Vents to the Insert
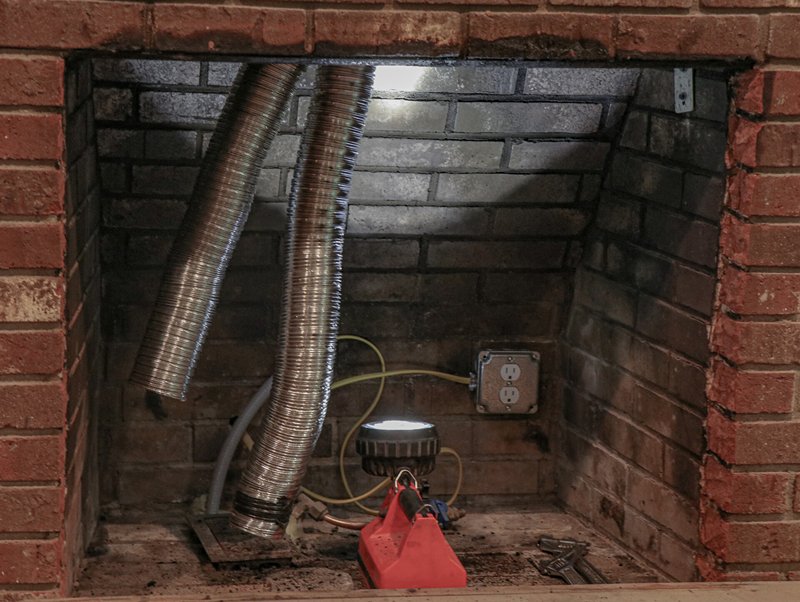
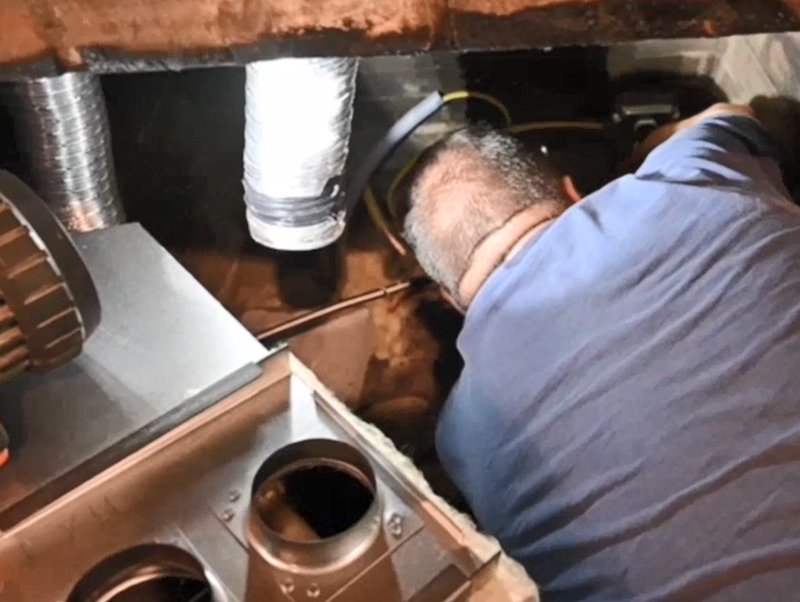
Once at the fireplace, the two vents can now be attached to the holes on top of the insert, similar to connecting the vent to the dryer in your laundry room.
Before the insert gets placed, the gas lines and electrical wiring were checked to make sure everything was working properly. This particular unit comes with an electrical igniter, so they also had to make sure everything was plugged in correctly.
Part Three: Adding the Decorative Elements
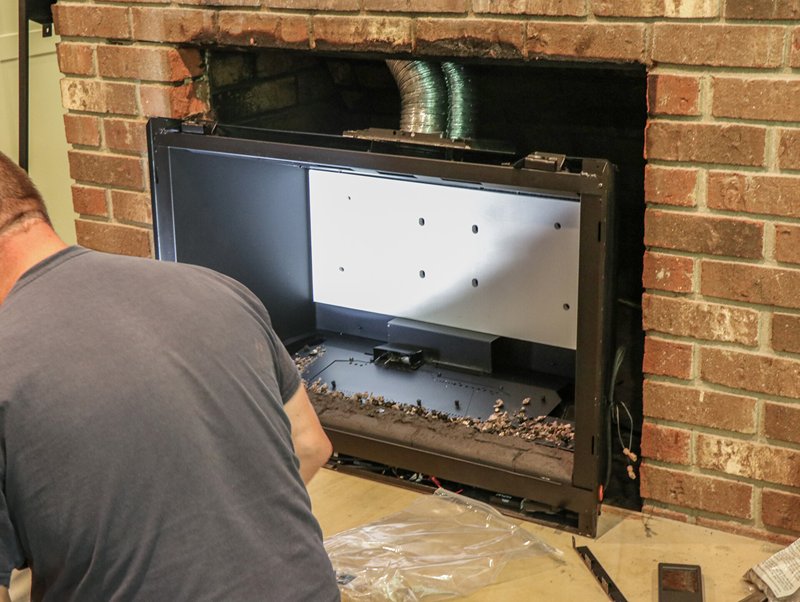
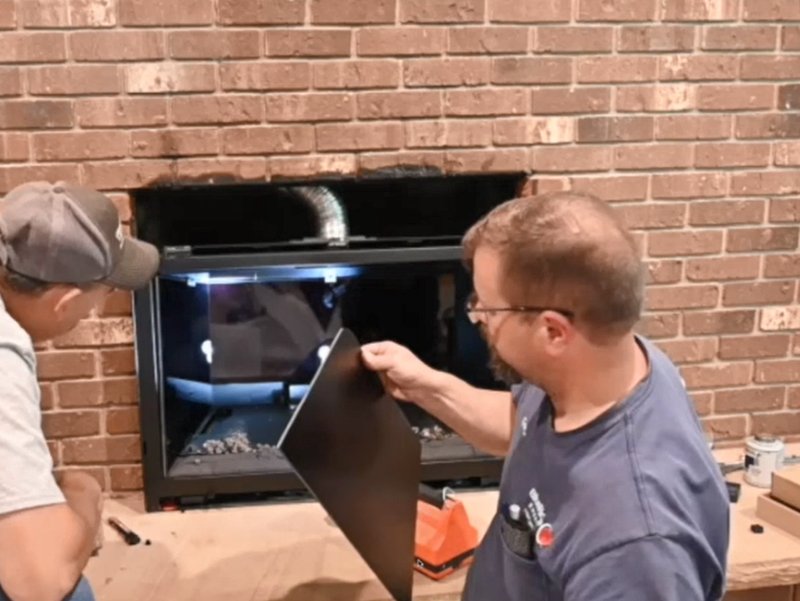
The next step is to put together the decorative elements, really making it come to life. Reflective glass is slid into the insert, small embers are added that will burn with the logs, and finally the gas logs are placed onto the burner.
Note:
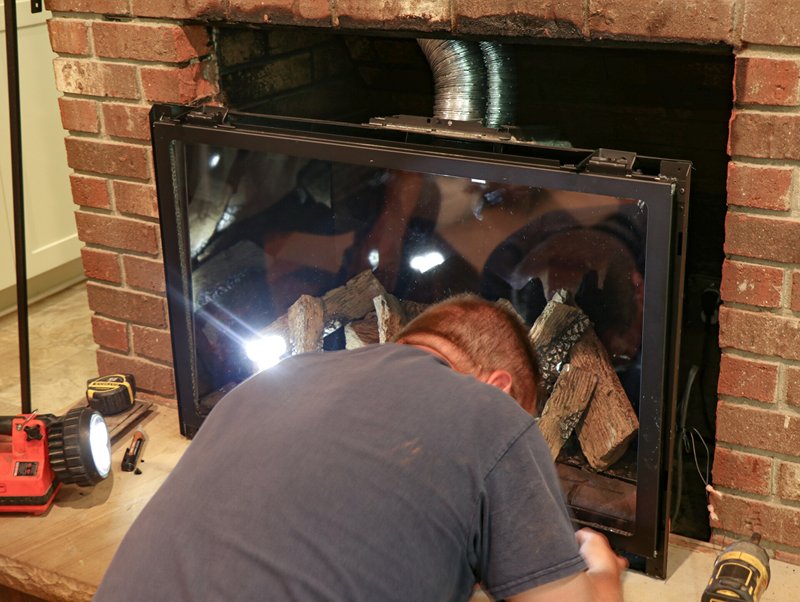
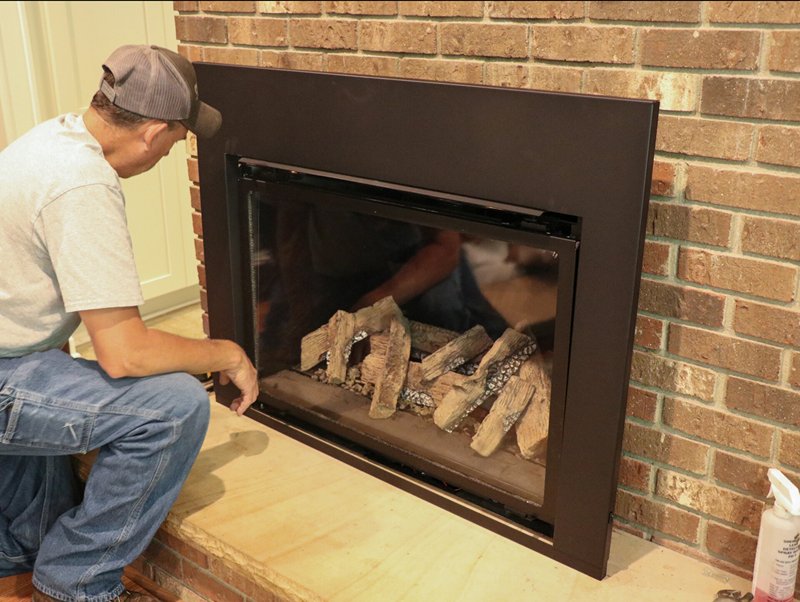
One question that is often asked is, what is the purpose of purchasing a surround in addition to the fireplace insert? These images show exactly why a surround is an important addition. Inserts are not going to universally fit into every fireplace opening. Because of this, without a surround you'll be able to see the venting and gas lines above and around the insert. The surround will go around the insert and allow it to look flush, without any openings.
Part Four: Testing and Finalizing the Installation
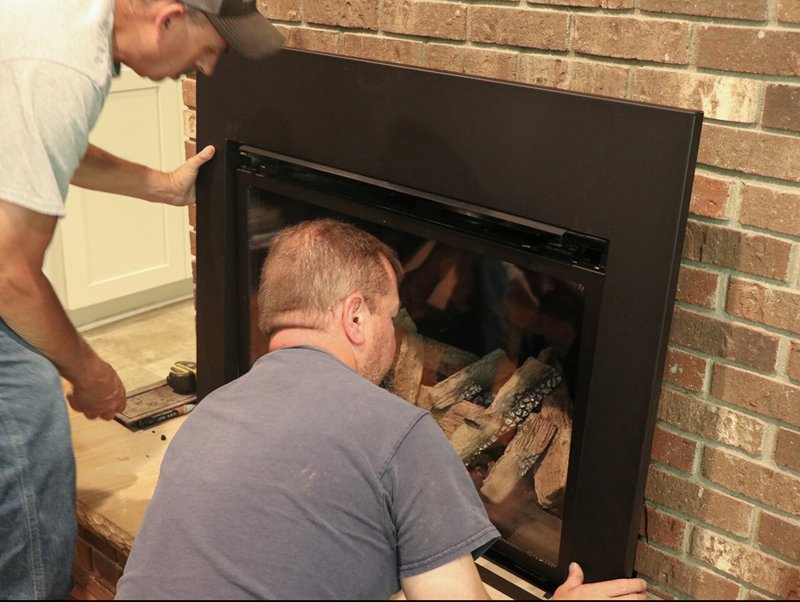
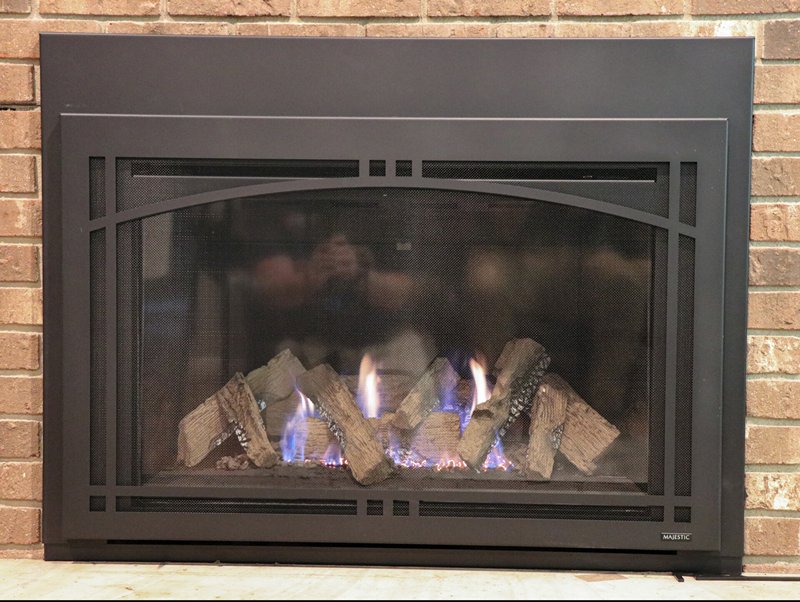
Once the gas logs and all decorative elements have been installed, the protective front glass will be put in place.
A final test will then be performed to make sure everything works before the insert will then be properly positioned into the fireplace. Finally, the surround will be added by connecting it in around the sides of the insert.
The fireplace is now complete and ready to be enjoyed!


